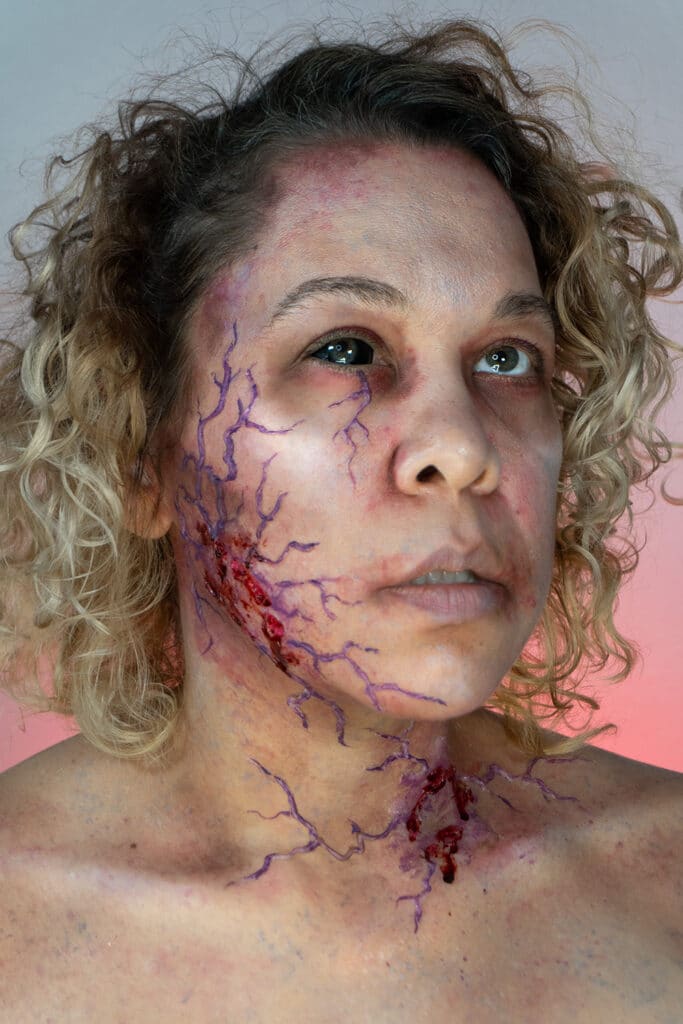
Infected Zombie Bite
Step 1
Wounds
On clean skin apply some 50/50 mixture of silicone from your kit. Blend the edges down. Creating a small mound. Using your spatula or a rigid brush in alcohol sculpt teeth impressions into the silicone.
This is recommended to be applied on clean skin since any makeup can cause problems with the silicone sticking over time. If you plan to apply of any makeup a layer of adhesive to apply silicone onto will help it stay on the skin.
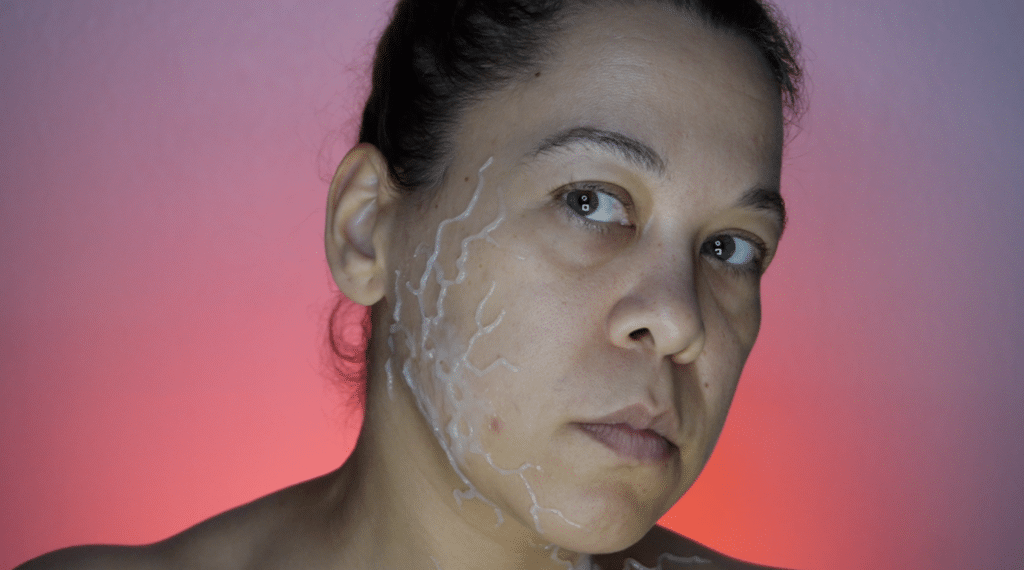
Mix more silicone and add to plastic curves syringe. Trim the tip to the width of veins desired. Starting from the bite create small wiggles and branches as you squeeze the syringe.
This should be done in small batches as this process takes time and a large batch may cure before you are able to finish

Step 2
Textures
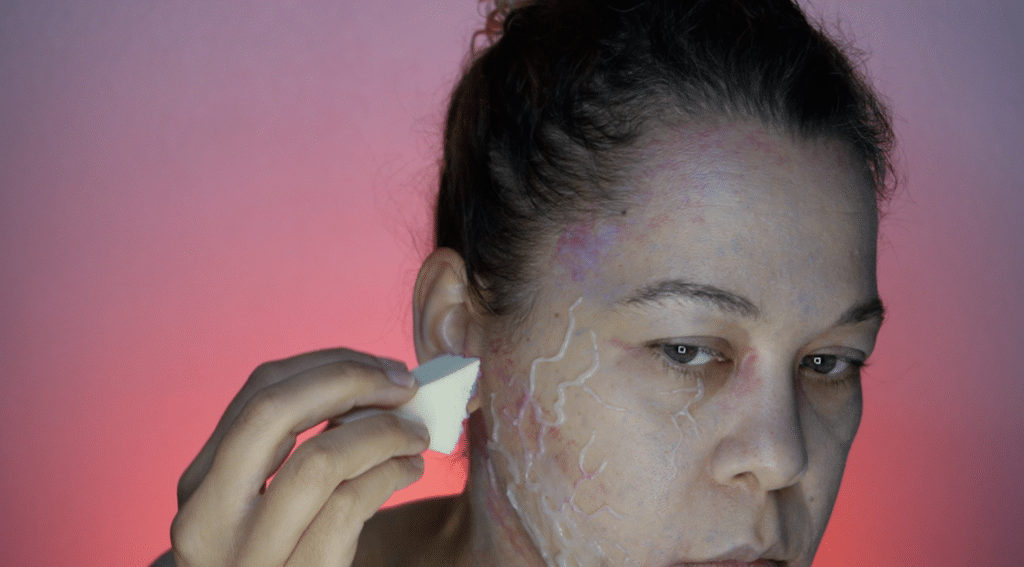
Using a damn sea sponge and water activated makeup, lightly stamp texture onto the skin. The wetter the sponge the less texture it will create.
With a torn makeup sponge create textures in the contour areas around the face. Chose to use reds and purples for a feverish sickly look.
Use brown pressed pigment in hollows or the face to darken and intensify the shading. Go in with a white pressed pigment to brighten any high points of the face.

Final Touches
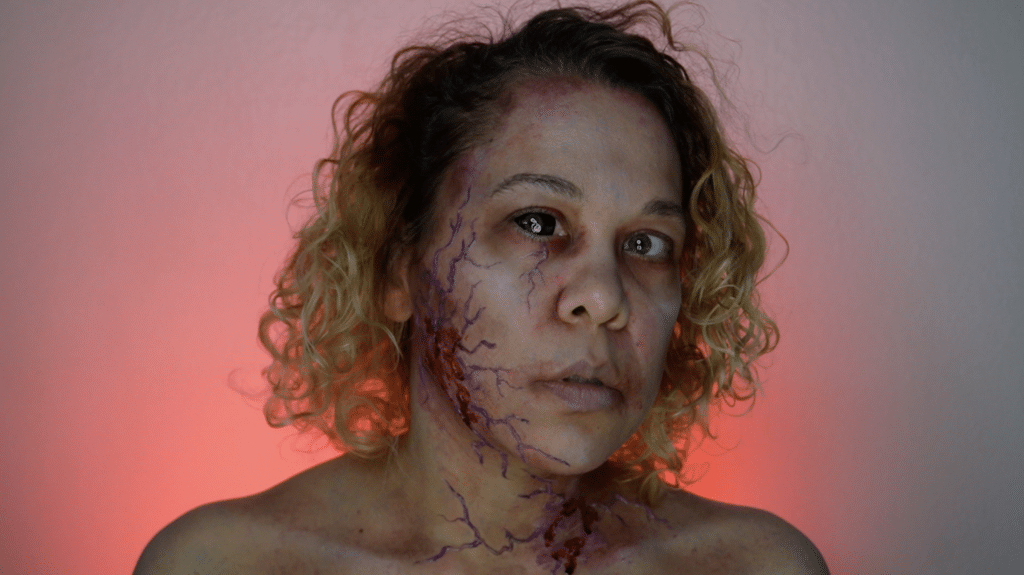
Paint the veins whatever color you want you infection to be. Added bright pink in the wounds to show under the blood. You can go with a darker color to give the illusion the wounds are deeper.

Bonus Tips
- The silicone will take a little time to set up, so work in small batches.
- Once the silicone sets up, you can remove it from the syringe and reuse it.
- You can use a pale skin tone for this look, it does not have to be gray.
- You can go crazy with the teeth indentions, make them look deeper or more ripped open.
- MOST IMPORTANTLY have fun and be creative!
SUPPLIES
Contains Affiliate Links : I may earn a small commission on qualifying purchases
