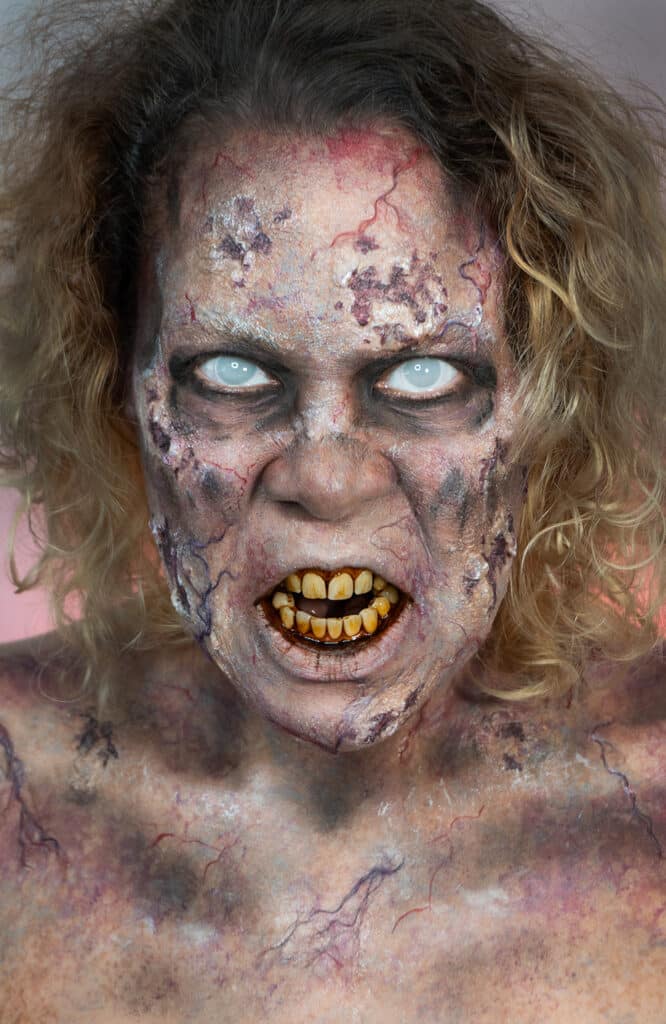
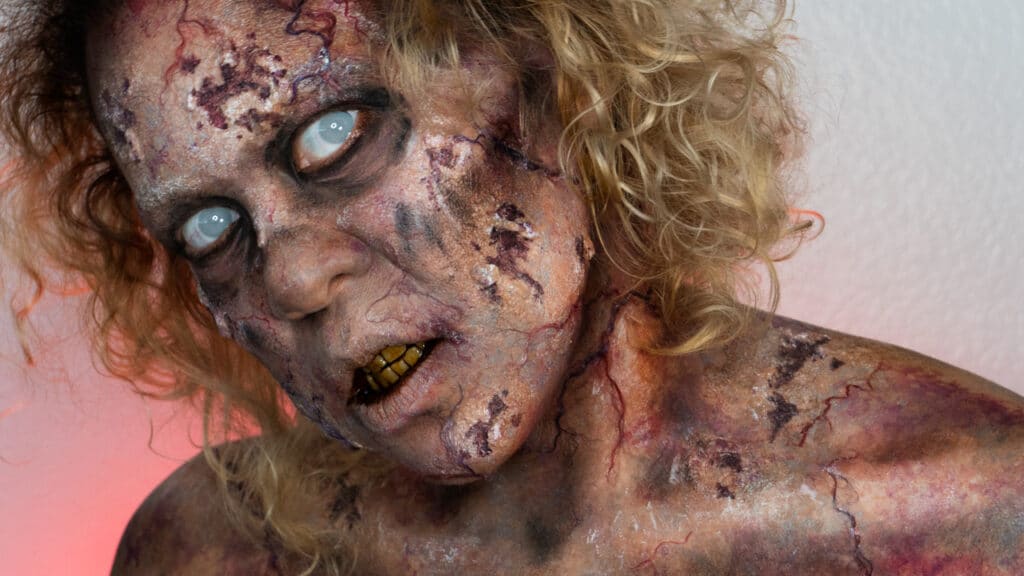
3D Zombie Wounds
Step 1
Wounds
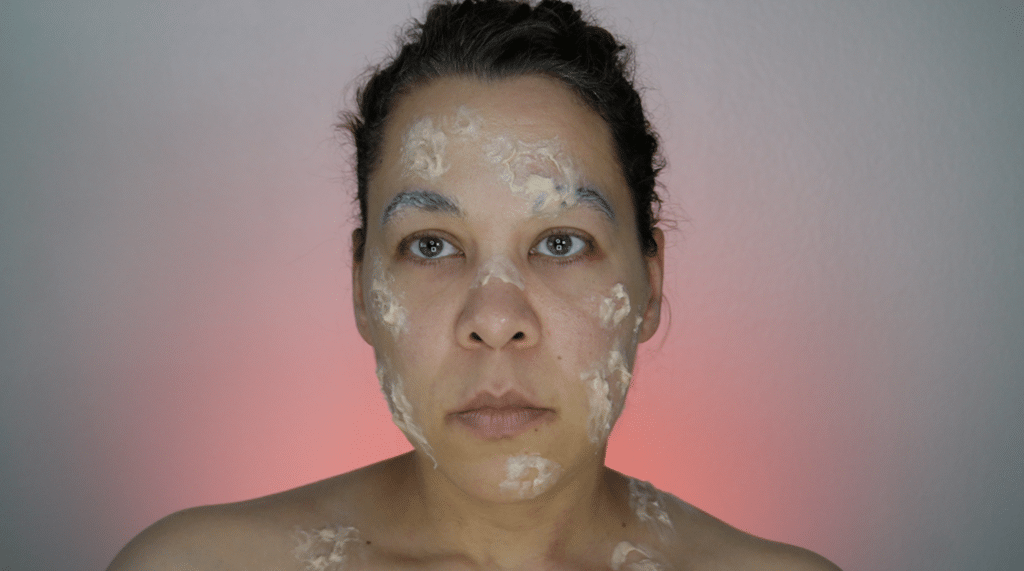
Apply Mehron Extra Flesh to create wounds. This wax does not need any prep before use. The wax sticks well to clean skin. Create the desired wounds. Be sure to smooth the edges of the wounds so that they blend in with your skin.
Seal the wounds with latex. Once the wax is dry This will help to prevent the wax from coming off and seal it for painting.
Step 2
Texture
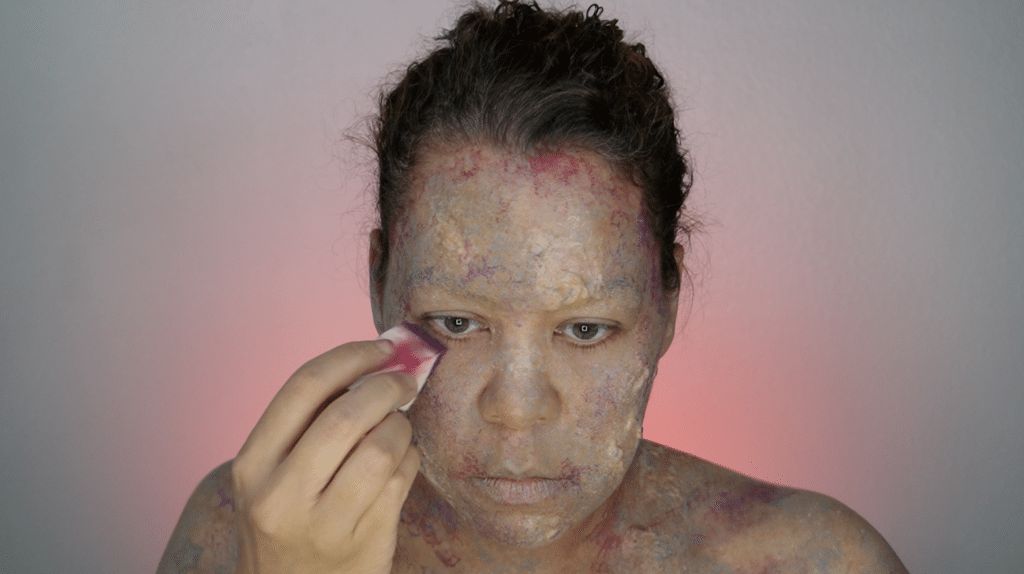
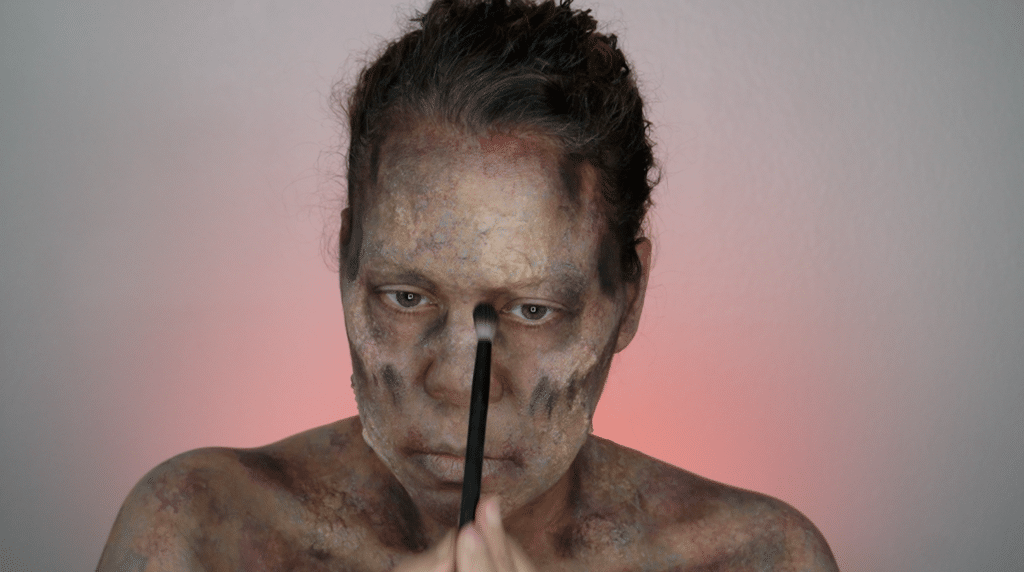
Using a sea sponge to apply gray paint to your skin. Make sure that the paint is blotchy. You want the sponge to not be too wet so it leaves texture behind. This step can be done in any light color of choice.
Create a cluster vein effect with a torn makeup sponge. Use a torn makeup sponge to stamp on some red, blue, or purple paint to create a cluster vein effect. Make sure that the paint is dry before moving on to the next step.
Step 3
Shading
Shade the skin to create a dry, emaciated look. Use black pressed pigment to shade the areas of your skin that you want to appear sunken in. Be sure to blend the shading well so that it looks natural.
Add details to the wounds with red and black paint. Use a thin brush to add red and black paint to the wounds to create details such as veins and arteries.
Add white highlights to the wounds. Use a torn makeup sponge to stamp on some white paint to the wounds to make them pop.
Use black shading paint to darken the eyes. You can also add some brown lines to create wrinkles.
Step 4
Veins
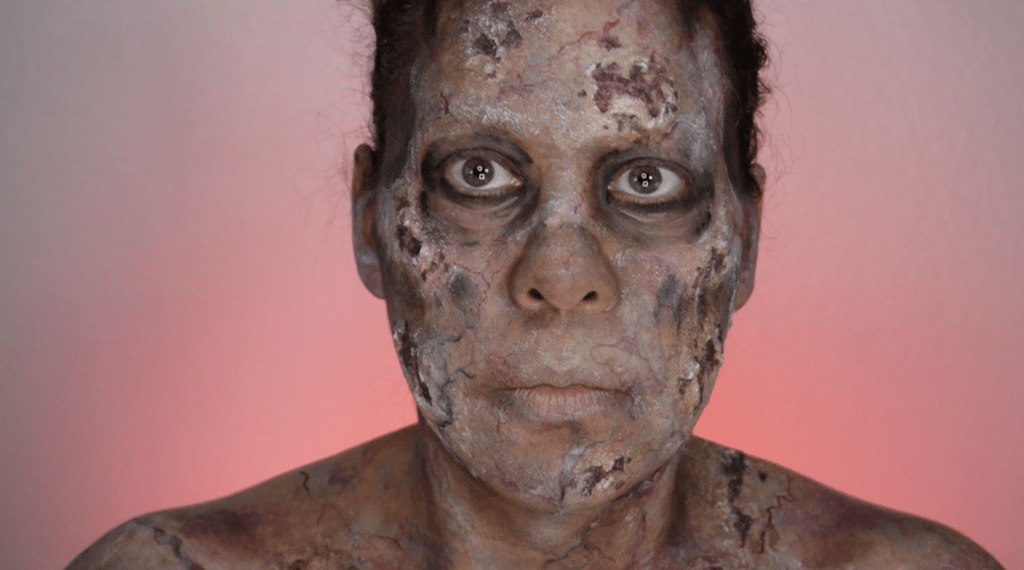
Add veins with yarn. Pull apart the yarn and apply some glue to the skin. Then, start adding bends and curves to the yarn. You can also pull apart the yarn further to create more branching.
Once you are finished with the veins, powder your makeup to get rid of any glue residue. Then, spray on some sealer to help get rid of the powdery look.
Final Touches
If you want to add a more creepy look, you can add lenses and brown mouth dye.
For a more realistic look, you can add blood or goop to your wounds.
Tips:
- Use a variety of colors and textures to create a realistic look.
- Take your time and don’t rush.
- Have fun and be creative!
Be sure to check out the video above to see the look come together.
Supplies
Contains Affiliate Links : I may earn a small commission on qualifying purchases
- Wax: Mehron Extra Flesh
- Mehron AQ Paradise Paints
- Mehron Pressed Pigments
- Latex
- Sea sponge
- Torn makeup sponge
- Yarn
- Glue ( Prosaide / Beta Bond)
- Powder
- Sealer
- Contact Lenses
