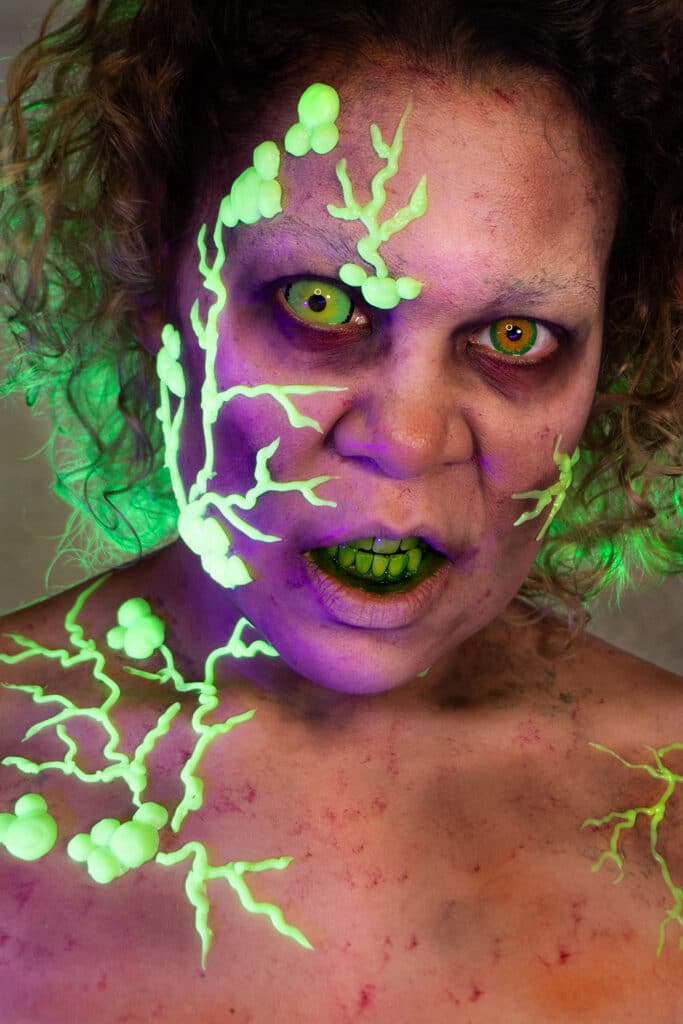
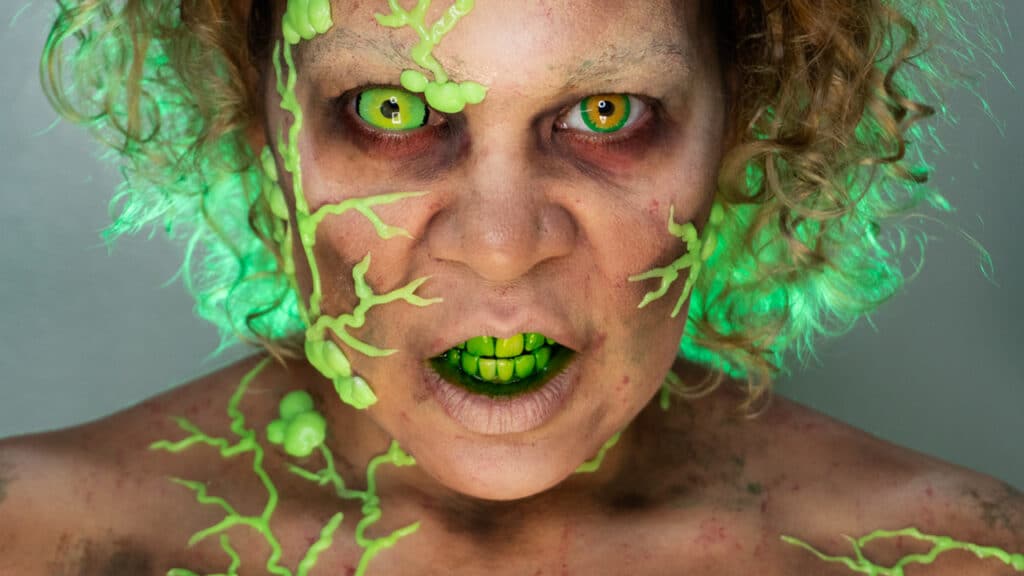
Radioactive Infection
Step 1
Apply a pale foundation to your entire face. This will create a blank canvas for your makeup.
Use a torn makeup sponge to apply green to the areas where you want the veins to appear. Build up the color as needed.
Also apply red to the rest of your face. This will give your skin a flushed, radioactive look.
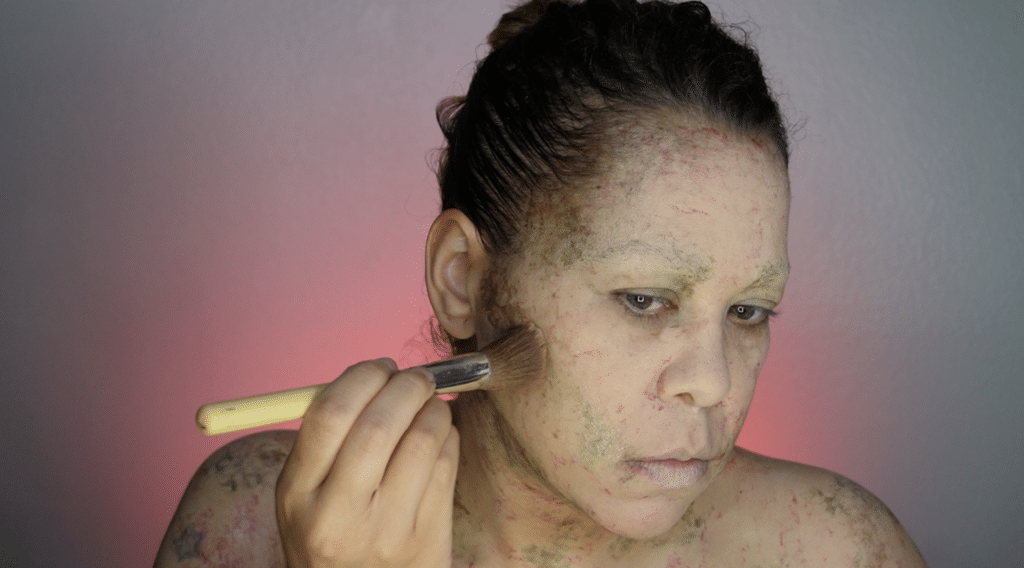
Step 2
Using a brown pressed pigment to contour the face. Following with a black pigment to intensify areas
Apply white eyeshadow to the areas where you want the highlights to appear. This will add dimension and depth to your look.
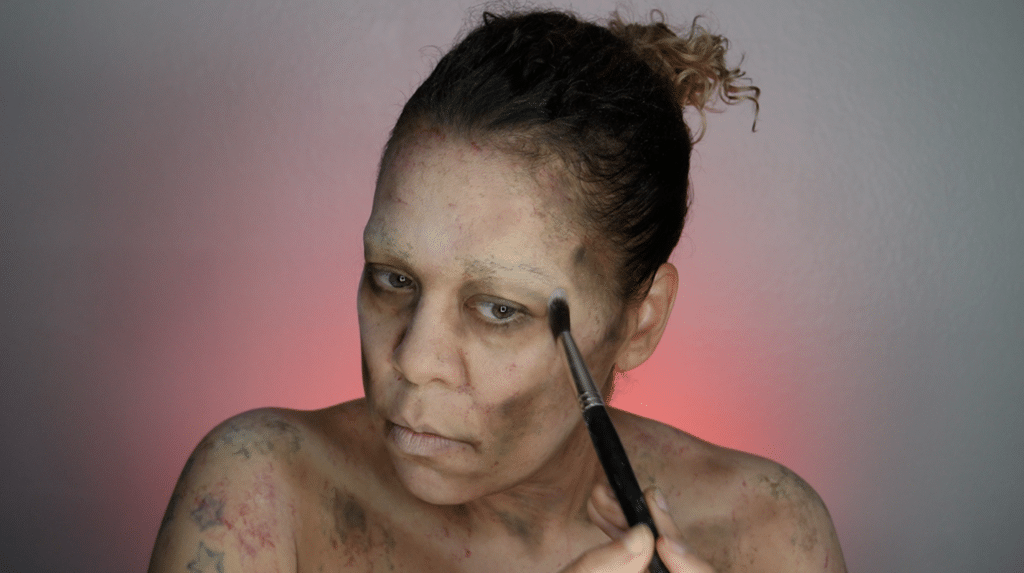
Step 3
Taking the premade silicone veins and boils. Start applying them with silicone adhesive. Prosaide or Beta Bond are not recommended as they will not hold the silicone to your skin as well.
Apply powder to the areas where the adhesive is visible so you won’t have any sticky areas.
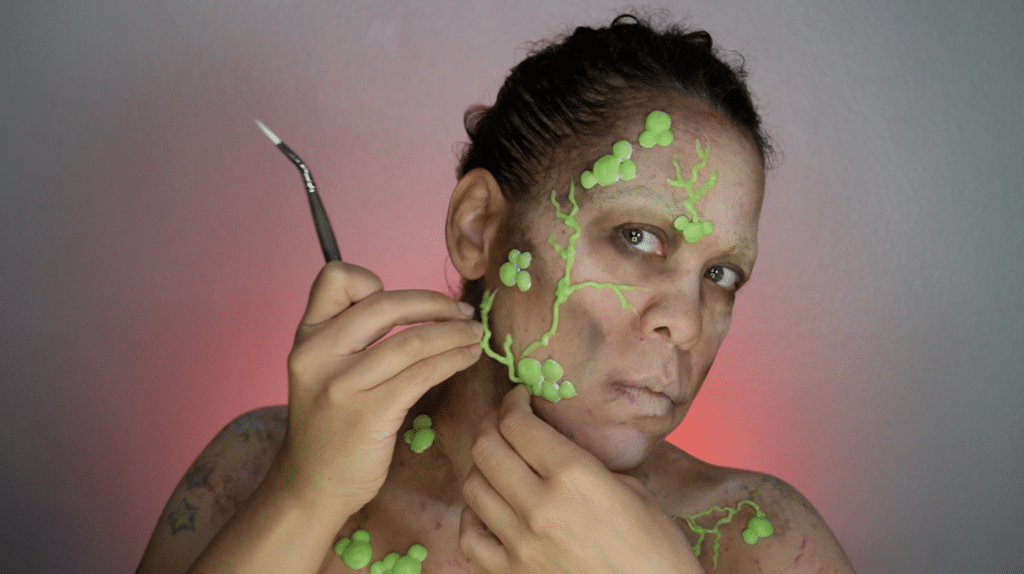
Final Touches
Apply red eyeshadow around your eyes. This will help to create a more dramatic look. Neon Green MouthFX for a fun touch to give the radioactive feeling to you teeth.
Bonus Tip
You can use a UV flashlight to have on you to charge the veins and boils whenever you need
Check out the video above to see the final look come together.
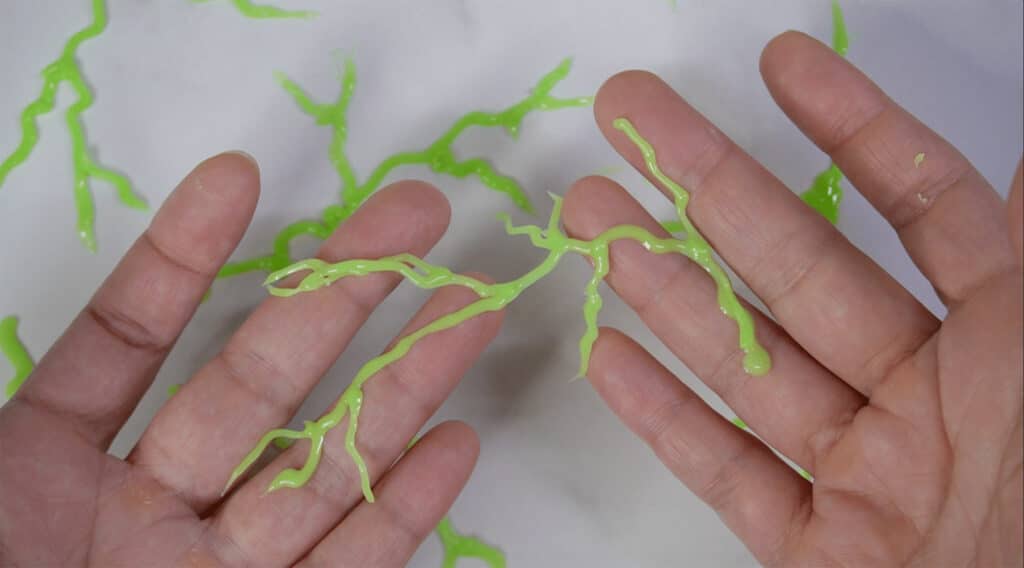
Making the Veins
Mix the glow-in-the-dark pigment in two-part silicone.
Fill a plastic syringe with the mixture. Cut the tip of the syringe to the width desired for veins.
Apply the mixture to flat smooth surface. Create wiggling branches of different lengths.
Allow the mixture to dry completely. This will take about 10 minutes. Peel off the veins.
SUpplies
Contains Affiliate Links : I may earn a small commission on qualifying purchases
- Pale Foundation
- Mehron Paradise Paints
- Pressed Pigments
- Glow-in-the-dark Pigment
- Two-part Silicone
- Plastic Syringe
- Alcohol
- Silicone Adhesive
- UV Black Light Flashlight
